Showing posts with label Craft. Show all posts

Saturday, July 9, 2011

Iowa Girl Eats blog

I have recently found this blog (thanks Chris!!) and I just wanted to share. It's done by a 27 girl who lives in Iowa (so very applicable to me). It has amazing recipes and great treadmill workouts. Check it out!!

Sorry for the lack of posting lately. Things will get back to normal after our move next weekend!!

Friday, April 29, 2011

A Win-Win

I have decided that making your own greeting cards is a winning situation for all. I have found that a homemade card is usually appreciated by the recipient, and it saves me money!

I created this card last night for a friend's bridal shower this weekend. Everything I used was something I already had in my scrapbooking materials.

The dress cut-out was part of a wedding card we received. It was just too cute to throw away, I knew it would come in handy one day.


I suppose card-making is a win-win-win because it also gives me a chance to exercise some creativity :)

Friday, April 15, 2011

Rainy Friday Project

My supervisor at work asked if I would like to make something to post to announce a bridal shower she is hosting for a couple of speech pathologists getting married later this summer (she knows I like doing these sorts of things). I've been in sort of a" crafting lull" since the wedding is over, so I was happy to do it. I was pleased with how it turned out. Every once in a while, something turns out well on the first try!!

I was able to use up some scraps I already had. The dress cut-out actually came off of a wedding card we received. It was just too cute to throw away!

Tuesday, February 1, 2011

Winter Project

I have yet to print wedding photos for display in our apartment. I wasn't sure how I wanted to do it, but I finally found a fun and creative way to remember our special day. This has been my project over the last month or so.

I found this "Artist's Photo Trey" at Archivers, a scrapbooking store (click here to see more sizes and colors available). Then I just used a combination of what I already had and some interesting things I picked up along the way.

The "C", "k", and "s" were the toppers I made for our wedding cake.


I kept the wedding announcement from the newspaper that contains all the essential details. The 3 gold keys are not yet glued down....I can't decide where to put them! Ideas?


I found the 2 mini picture frames at Michaels. I painted them to go with the color scheme. I also painted the keys gold (they were originally silver). The backgrounds are just scrapbook paper and the black numbers and tiny gold bead string can be found in the scrapbook department at Hobby Lobby or Michaels. I painted Mod Podge as a protectant/sealer over all parts except the photos.

Friday, December 10, 2010

Pipe-Cleaner Snowflakes

I was looking for a fun way to decorate my Secret Santa's desk at work. I found this cute craft idea from Martha Stewart's website:
And here's my version:


You need a ruler, needle nose pliers, pipe cleaners, scissors and ribbon (optional)


How to do it:

1. Cut three 6 inch pieces of pipe cleaner, six 2.5 inch pieces, six 2 inch pieces, and six 1.5 inch pieces.

2. Twist the 6 inch pieces together at their midpoints to make a six-pointed star. Tighten the twist by clamping down with the pliers.

3. Center a 2.5 inch piece at the midpoint of one of the points and twist, using pliers again to tighten. Repeat on remaining 5 points.

4. About 1/2 inch toward the tip from the arm attached in previous step, center the 2 inch piece. Twist and tighten as in step #3. Repeat for remaining 5 points.

5. About 1/2 inch toward the tip from the arm attached in step #4, center a 1.5 inch piece. Twist and tighten and repeat with remaining 5 points.

6. If desired, glue a loop of ribbon to back of snowflake.

Monday, December 6, 2010

Christmas Tree Makeover

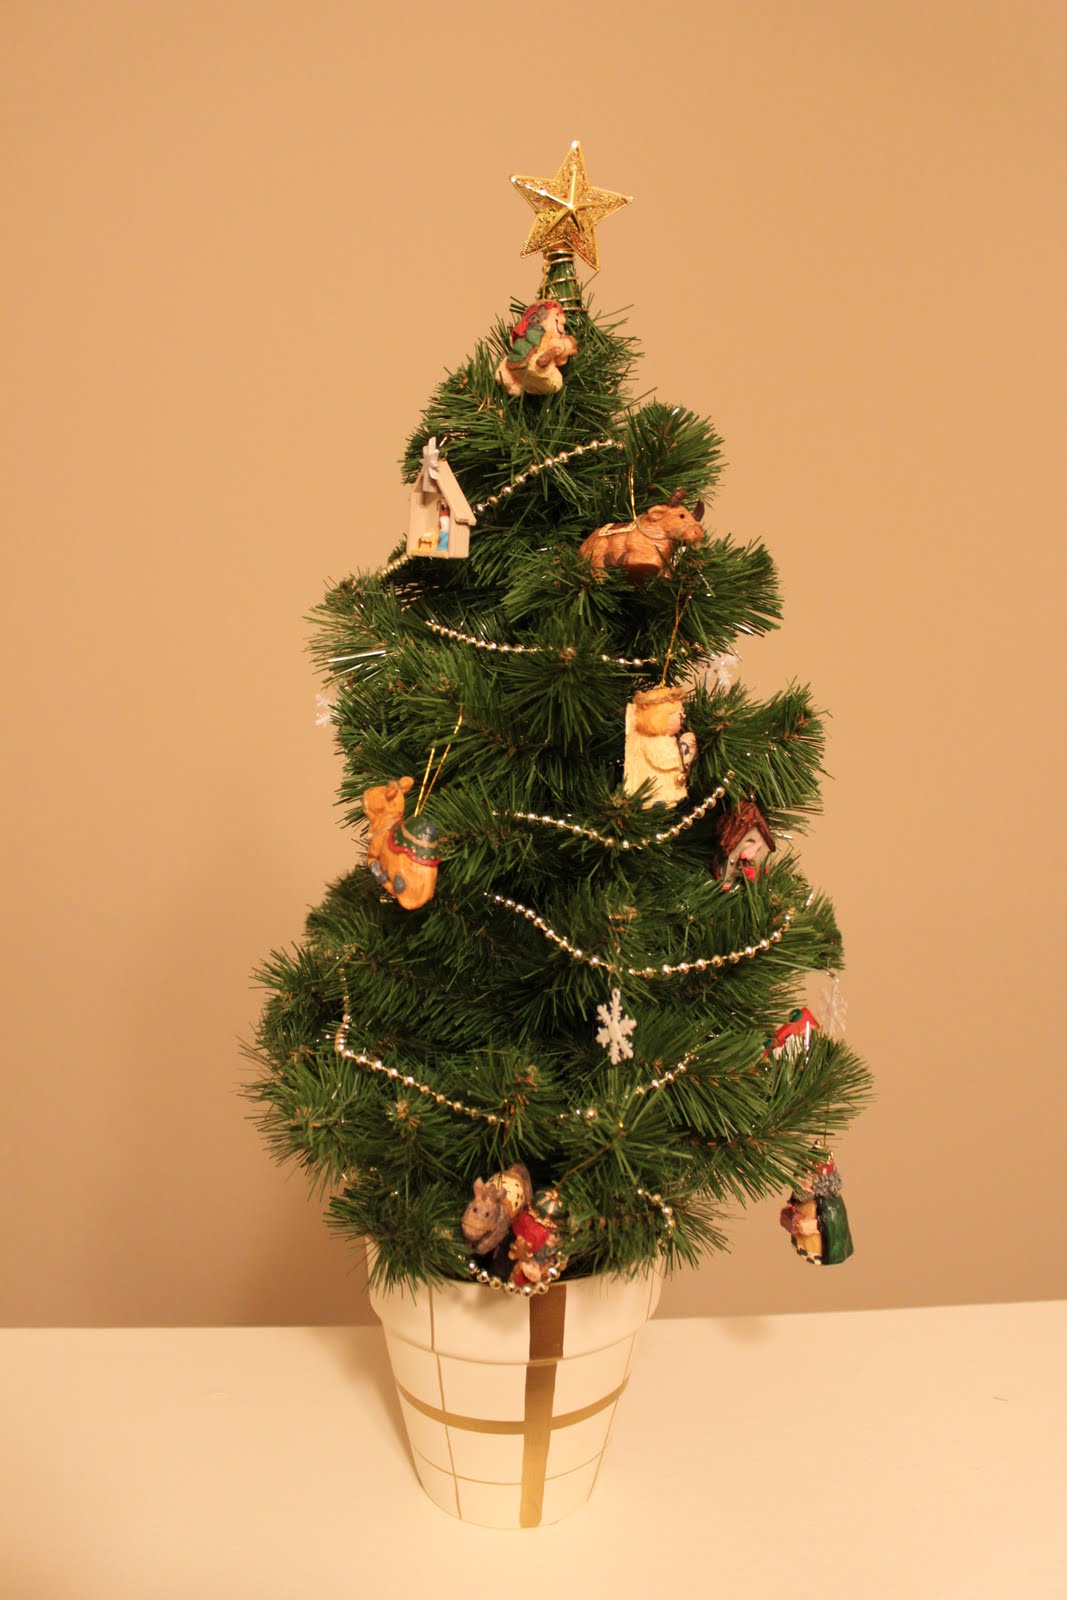
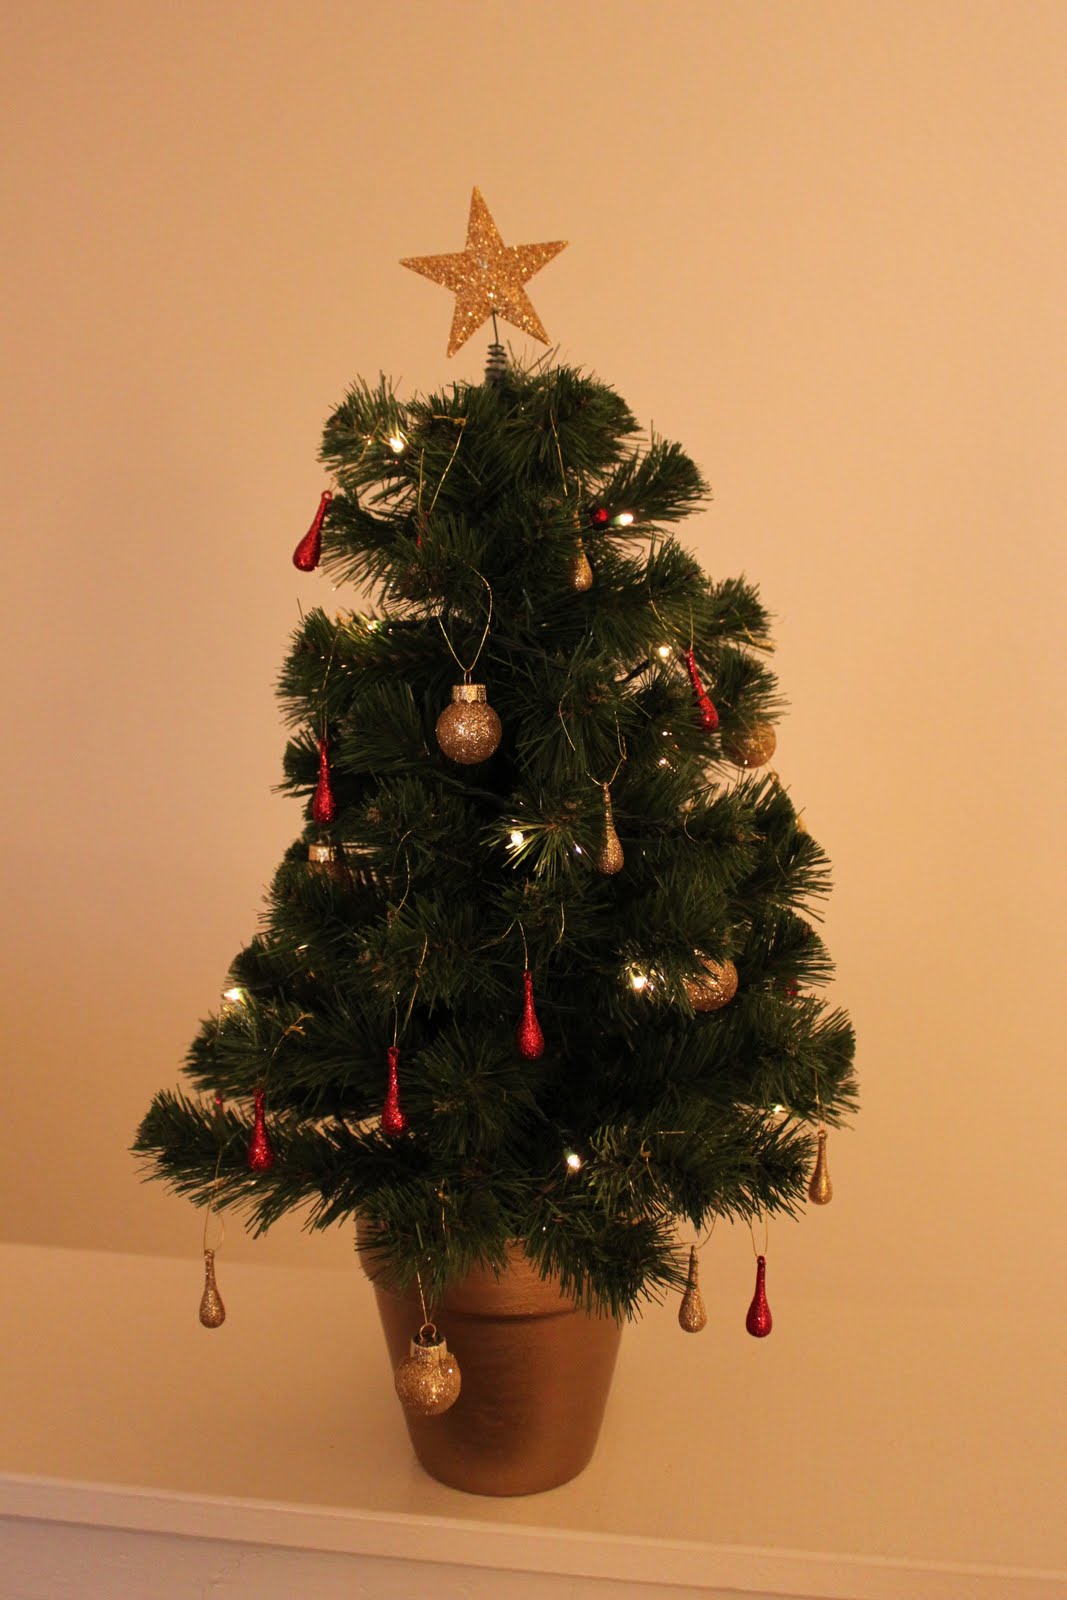
Kyle and I needed a Christmas tree for this year to hold us over until we buy one on clearance after Christmas for next year when we hopefully own a house. So my mom gave us this one that she had sitting in her basement.

While I like the way the base was painted, I wanted it to make more of a statement (since it's all of 18 inches tall). So I dug through the paint I already had and picked up a few items from Hobby Lobby and had an all new tree in no time!


Even when we have a real tree next year, I might have to keep the little guy around for an end table!