Friday, August 19, 2011

re-FINISHED!!

Earlier this summer, I scavenged through some 5 different antique stores while visiting my parents in Missouri. I was in search of some sort of piece of furniture I could put somewhere on the main level for extra storage. I knew I would probably have to refinish whatever I found, but I wanted an interesting piece that no one else has. It had to be sturdy, and it had to be unique. Those were my only requirements.

I came across this one and knew it was just what I had been searching for.

So it hung out at my parents' house until last week when they brought it up to Des Moines.

It definitely has some unique components....


And it also really showed it's age....


I determined the whole piece was solid wood, so I could just strip the finish off the top and refinish the wood, as well as paint the rest.

So I smothered the top with a chemical stripper and finished bragging to my mom about how great and effective these chemical strippers are. "All you do is scrape off the stripper with a putty knife, and all the finish comes right off! It's amazing!!"


Guess those were my famous last words. Because after about an hour I came back to remove the stripper along with all the nasty stains on the top of the cabinet. Much to my surprise, nothing came off. I waited until the morning.....nothing!!

So it was time for Plan B: Sanding and scraping.


But still, after at least an hour of combined effort between my mom and me, the dark black stains where still totally noticeable.

So I faced my fear of power equipment and rented this guy from Ace Hardware:


And voila! After 15 minutes of sanding with an electric sander the top was good as new.


Then I could fiiiiinally continue with refinishing the top. So I preconditioned the wood, stained it, and finished with two coats of polyurethane.

Next up: painting. The cabinet had been painted bright green, then partially painted over with light yellow. It had to go.


In light of my recent failure with the chemical stripper, I decided to just paint over the existing paint. So after removing the hardware.....


....I did the fun part. Just paint!!


Kyle requested the cabinet be painted "Barn Door Red" (a made-up-in-his-mind color) and I had no objection. However, this color is actually "Spanish Red" from Benjamin Moore.

So after 2 coats of paint and reattaching the original hardware (which I thought about spray painting but that will have to be another day), here's what it looks like now:


And check out the top. Muuuuuch better.


And several less-used items in our kitchen have already found homes in the new cabinet in order to clear up some valuable real estate in the kitchen cupboards and cabinets. And as you can see from the above picture, Kyle's birthday present from my parents has also claimed it's spot.


Sunday, August 14, 2011

Paint Job #1

Well, it took 26 days for the first drip of paint to touch the walls of our new house. I actually thought it would take me months to be decisive enough to paint, but my mom was in town and I welcomed the help. Plus I couldn't take the entire beige house another second. I decided the first room to paint would be the master bathroom. It was a safe starting point since not many people see it, plus it was in dire need of some color. I was also anxious to get the flat builder-grade paint covered up by something more glossy, so that the steam and moisture from the shower wasn't being absorbed into the walls.

If you remember, this is what the master bathroom looked like a few days ago:

I knew I wanted some sort of orangish or yellow-orange color to tie into the colors planned for the master bedroom. Se we headed to the hardware store and picked up a few samples.


I forgot to snap a picture of the samples on the wall, so I'll get right to the finished product. Drum roll please....


And I love it. Kyle might be indifferent, but that's ok because I love seeing walls saturated in color. Watch out because I might now be obsessed with painting. We'll see...

A second bathroom update: In other equally intriguing news, I replaced our toilet seats this afternoon. The builders put on those crappy plastic ones. When mom and I were painting the bathroom, we found out real quickly that those lids could not be stood on. They also cannot be sat on (when the lid is down). Where else can you clip your toe nails?!? I mean come on. And since then I've been itching to replace them.

So I went to Menards all by myself and (without help) picked up these:


And within 20 minutes of being home, our toilets went from looking like this:


To this:

I know what you're thinking....it's a dramatic change. But the new ones have chrome hinges....ok, so you might have to be here to understand. And I learned the replacing toilet seats is probably the easiest home improvement project I will ever have.

Sunday, August 7, 2011

Presenting....The House!!

It's been a crazy busy last few weeks but I finally have time to give you a "tour".

Welcome to the House of Crouse!


Come on in....


Now to the upstairs....


Guest room:

Office:

Guest Bathroom:

Master Bedroom:


Master Bathroom:


Kyle's favorite "room":


Basement....to be continued eventually.....

Last but not least, the backyard.

A very "Iowa-esque" view from the deck:

Now it's time to put that deck to use and grill up some burgers!

Sunday, July 31, 2011

BCT Sandwiches

This summer I've been on a BLT kick....but usually without the "L", only because I don't keep lettuce on hand very often. I've decided that the BLT is a very underrated sandwich!

Since Kyle likes 'em too (hold the "L" and the "T" on his) we've had them several times. And while I would love to use the same bacon Kyle likes.....


....I try to make my BLT healthier with this:


However, this presents a problem, since bacon doesn't last very long in the fridge, especially with only one person eating it. And as much as a like BLTs for dinner, I don't want to eat them every night for a straight week. So finally, the solution came to me last night:


Divide the bacon up into individual portions to keep in the freezer, then thaw one at a time as needed!! Hallelujah, no more wasted bacon!

Fry it up, and add the veggies (decided to slap some cucumber on there...in place of lettuce I suppose), and it's the perfect summer sandwich.


Don't worry, I haven't forgotten that I haven't posted pictures of the house. I decided to wait until Friday when we get the rest of our furniture to give the "tour".

Sunday, July 24, 2011

We Are In The House!!

Well, we've been in for over a week now, but I've been super busy getting settled. We LOVE it here. Already feels like home.

There's so much to show and blog about, so I'll have to do it little by little so that I still have things to talk about a month from now :)

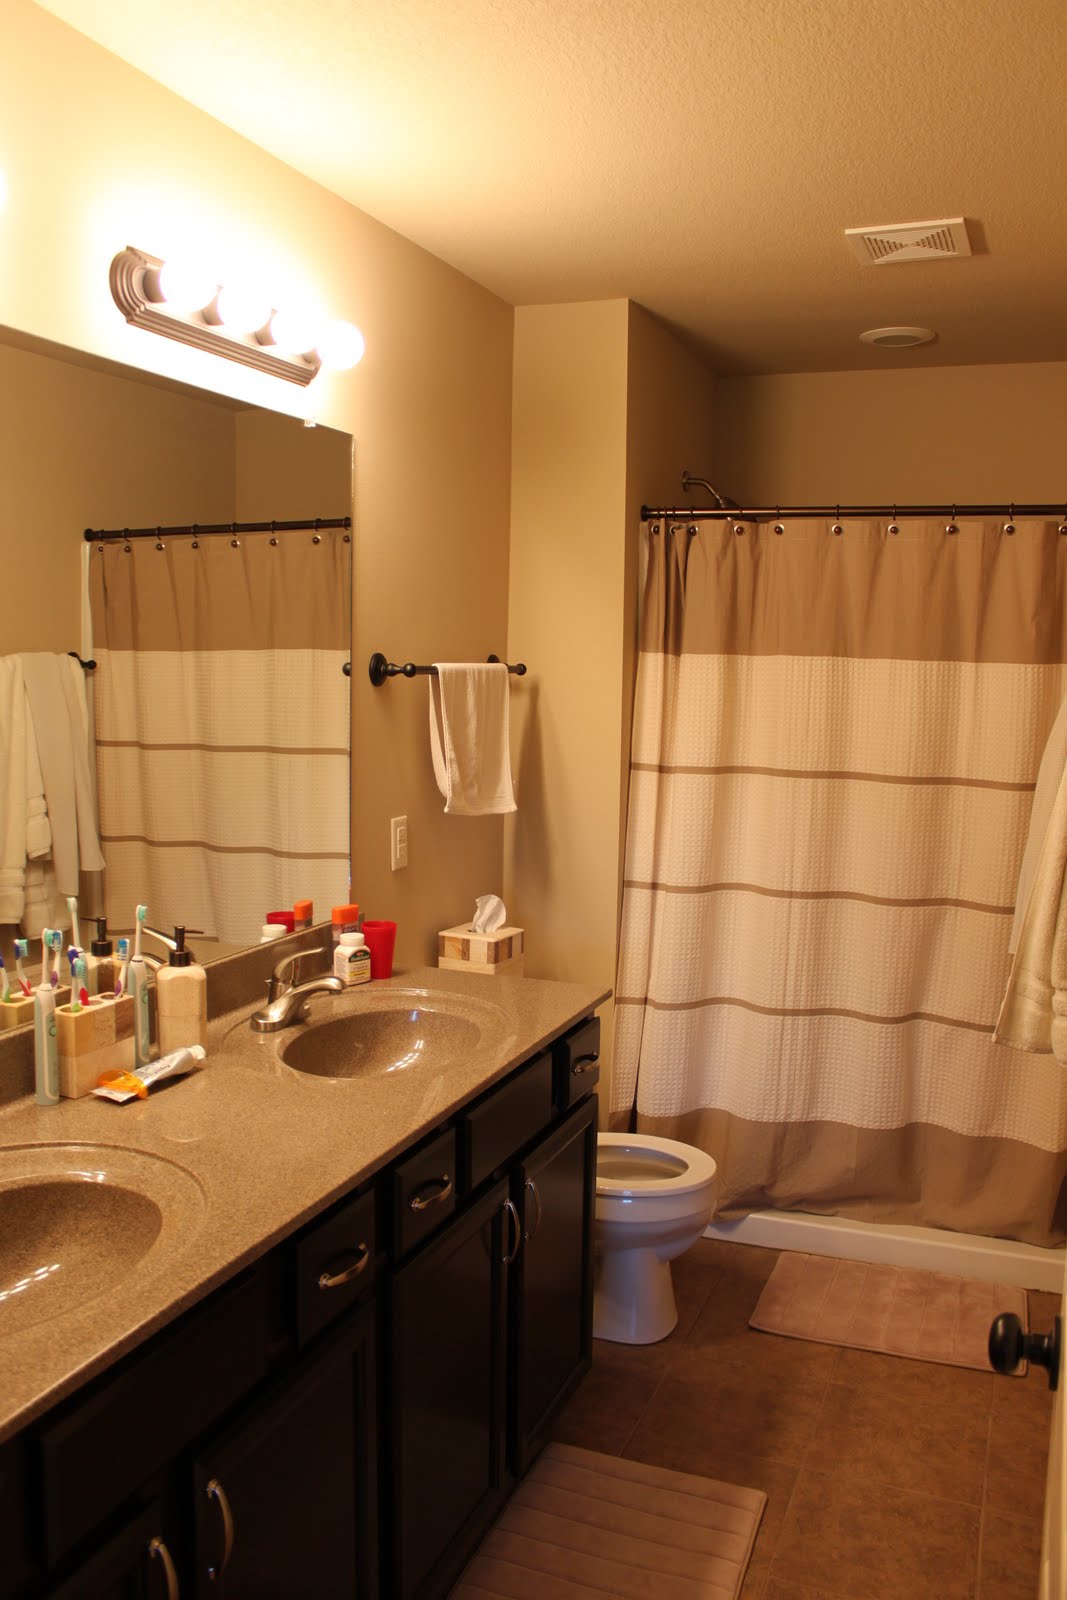
Let's start with one of the more critical things we had to take care of. We have a half bathroom on the lower level, which looks right out to the front porch. It looks like this:


This picture does not do a good job of showing just how visible you'd be to someone at the front door if you were sitting on the toilet. Or even more awkward, how easy it would be for the neighbors across the street to watch you go to the bathroom at night. We knew we had to do something, because after a week of having to go all the way upstairs to go to the bathroom, it was already getting old.

I didn't really want a blind or shade there, because there would never be a time when we wanted the blinds open. Plus I didn't want to block out all the natural light that comes in through that gigantic window. What to do, what do do....

Well, I found this "window film" at Home Depot. For only $24, it seemed like a quick, easy and inexpensive solution. I have to admit, I was weary that it would look cheap (which for 24 bucks, it is!), but I decided to give it a try. Plus it would definitely bring color to our very neutral home, hide the perfect view of the toilet from the outside, and still let light in.

It was very easy to put on. You just measure and cut the appropriate sized piece from the roll, spray the window down with soapy water, peel the backing off, and place the film on the window. It comes with a squeegee to remove air bubbles, and since the window is wet, you can the film around until it's even on all sides.

And now, the window looks like this:


No need to do the top, since it's below eye and toilet level :) Plus we still want to be able to see who's at the door when it rings!

So, here's the bathroom now.


Not sure that this will stay up for all of eternity, but it's a good solution for now.

On a side note, it is really easy to match other bathroom accessories (towels, soap dispensers, decor) to this window film since it contains just about every color of the rainbow!

Sunday, July 10, 2011

Chill Out

If you're like me, you don't crave heavy pasta in the summer. But this Greek Pasta Salad is served cold, and loaded with lots of summer seasonal veggies, making it light and refreshing! I got this recipe from Women's Day magazine.

You will need:

5 oz (2.5 cups) dried conchiglie pasta (which are basically just shells)
1 pint grape tomatoes, halved lengthwise
1/2 cucumber, quartered lengthwise and cut into 1/4 inch pieces
1 yellow bell pepper cut into 1/4 inch pieces
1 cup canned cannelini beans (which are just white kidney beans...and I just used the whole can)
1/2 small rid or white onion, diced
2 ounces reduced fat feta cheese
1/4 cup pitted kalamata olives, halved
1/4 cup chopped fresh mint (I didn't have any on hand so I eliminated it)
2 Tbsp. extra-virgin olive oil
2 Tbsp. red wine vinegar
2 Tbsp. lemon juice
1 tsp. minced garlic
1 tsp. honey
1/2 tsp. Dijon mustard (again, I didn't have any so I eliminated this too)
1/4 tsp. dried oregano
1/4 tsp. salt
1/8 tsp. freshly ground black pepper


Seems like a lot of ingredients, but I already had most of it on hand.

Step 1:
Cook pasta according to package directions. Drain, rinse under cold water, drain again and transfer to paper towels to absorb excess water.

Step 2:
Combine tomatoes, cucumber, bell pepper, beans, onion, feta, olives and mint in a large serving bowl. Add pasta and mix.


Step 3:
In a small bowl, whisk together oil, vinegar, lemon juice, garlic, honey, mustard, oregano, salt and black pepper.


Step 4:
Pour over the pasta and vegetables; toss well. Season with additional salt and black pepper to taste.

Step 5:
Enjoy!

Saturday, July 9, 2011

Iowa Girl Eats blog

I have recently found this blog (thanks Chris!!) and I just wanted to share. It's done by a 27 girl who lives in Iowa (so very applicable to me). It has amazing recipes and great treadmill workouts. Check it out!!

Sorry for the lack of posting lately. Things will get back to normal after our move next weekend!!